Berklee Portfolio
Jupiter
Brian Casey
This was a project recorded for an advanced recording class at SUNY New Paltz. We worked through the entire process from finding a band to mixing. The song includes a grand piano, saxophone, bass, drums, and vocals. We recorded on an Avid C24 mixer. We worked in a very reverberant room that had no acoustic paneling. We tried our best to create a small isolation booth for recording of the Saxophone and Vocals. I think it definitely made a difference that can be hard throughout all of my recordings which have all been recorded in the same space. These vocals are clear with little room noise which made them much easier to work with. This process was a bit different than how we had previously worked. The drummer had to leave early and wouldn't be there for the full session so we focused on recording two full takes of the song with all of the instruments and two separate takes of the drums. Once the drummer left, we recorded the piano, saxophone, and vocals individually.
I worked with Protools to mix the song. I started by working with drums. As I worked on each specific instrument I listened to the other playlist tracks and swapped in where I thought the piece needed it. I didn’t change anything for the drums in terms of adding to the playlists. I first started with the EQ of the drums. I focused on the kick drum because there was a lot of bleed from the other parts of the drum, especially for the kick out. I cut it about 4dB around 5kHz which helped with the higher frequencies that were cutting through from the high hat and crash cymbal. I went through and listened to each of the drums individually and then together as a whole and I liked the way that they sounded so I didn’t add any EQ to any of the other drum tracks. I added a compressor to the kick drum later in the process after I had worked through all of the other instruments. I only did a slight amount of limiting to reign in the kick a little more. I also faded the drums at the end of the song so as not to clutter the end with the sax and piano.
From there I moved on to the vocals. I ended up using one of the 4040 tracks as my main audio. I subbed in some small sections in the first verse. When I listened to the track the first time it sounded really cool with all of the mics at once. I knew that keeping that was not practical but I did end up using pieces from the 58 and put them in in moments towards the end of phrases. As I was doing this I found it really helpful to create the group for the vocals. I did the same for all of the other instruments as I went.
I moved on to the Saxophone from there. I listened to all of the tracks and decided to get rid of the SM57. I didn’t like the sound that was picked up from this mic. I liked the other mics, including the room mics. Room 2 had a better sound quality to it so I had that at -5dB while Room 1 was at -12dB. I EQed on an Aux track instead of doing the tracks individually. I think that it sounded better with the uniform EQ. I moved to the Bass from there. I didn’t change much to the bass. I didn’t use the room mics for this. I wanted a more centered sound and it was taking away from the deep sound of the bass and was making it more reverberant.
The piano was the last thing that I worked on. After listening to it the first time through, I noticed how jumbled the end was. To clarify the sound I decided to lower the piano once we reached the end. I used the write automation to lower and raise the sound of the piano at the end. I EQed the piano and boosted some of the mid frequencies approximately 2dB.
I created a master fader after I had finished editing the rest of the instruments. I used the maxim plugin. I was able to raise the threshold to -17dB before it started distorting. I went back to the bass and the kick to try and fix them with compressors. I worked with both for some time and went back to adjust the maxim plugin. I was able to adjust the threshold and boost the ceiling so that it didn’t distort.


Stevie
Soup Outside
This song is where I saw my biggest growth from what I had learned from the basics to actually putting a full product together and it actually sounding cohesive. This track was recorded on an Avid C24. The song includes drums, guitar, bass, piano, and vocals. I enjoyed being able to work with so many different tracks. The song was mixed on Protools.
I started with the basic organization of the files and then I started working on panning for some of the tracks. Most of the panning was for the drums however, I did pan the Bass to the right slightly. I used EQ for the vocals which had a lot of bleed from other instruments. I cut out a lot of lower frequencies because there was heavy bleed and the vocalist has a higher range. I put very minimal EQ on the drums mainly boosting a bit of the kick drum and the snare top. I put some EQ on the guitar and turned it down 2 dB around 2kHz. It sounded even better after I added reverb to it. For the bass, I reduced it at 500 Hz and boosted it around 250Hz. The piano had a lot of bleed as well so I put a High Pass and a Low Pass filter to cut out all of the extra room noise. For the master fader, I put on an EQ and boosted it at 1k about 2dB.
After I added the EQ to all of the tracks that needed it I added reverb to the guitar and the vocals. I used the same D verb filter for both the guitar and vocals with room 1 on the small setting.
After I had all of the effects put in, I started to work with the levels. While I was listening to the levels I noticed a lot of room noise that was taking over most of the song making it hard to hear the main vocals and solo. I decided that the best thing to do would be to cut the room track because I had already EQed as much as I could out of the tracks that had bleed as I could. After fixing the added room noise issue, I decided that I would set a base level for the song but it needed to be automated for certain sections of the song. For the beginning, vocal sections, and guitar solo I did some automation with the level to boost and lower the instruments. I also automated the reverb track so that it would add more effect on the vocals when the vocalist sings the line leading into the chorus.
I created a master track to add the Maxim limiter too. I set the threshold to -11dB because there were a lot of lower frequencies that were becoming distorted at higher thresholds. I brought the ceiling up to -0.3dB.


Foley Project
As an independent study project, I learned all about the background of Foley and the different ways it can be created. I also wanted to learn how different mics can affect the quality of sound when recorded in different spaces and recording different objects.
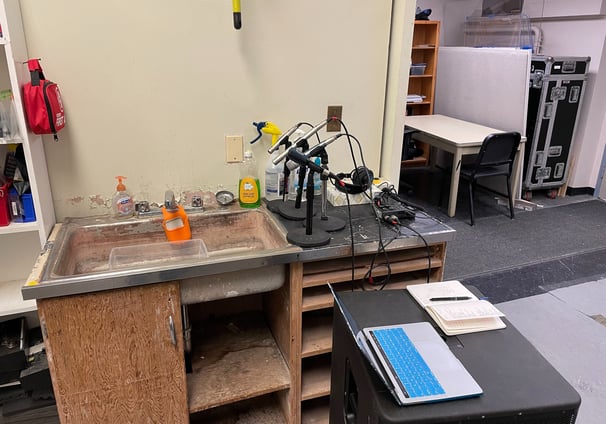
I selected three short clips from films to recreate. Moana was the first short scene that I attempted. My goal was to record all of the background noises of the water that took place in the scene. I recorded in our sound lab using 4 different microphones. The SM81, the Rode NT5, the SM57, and the Sennhesier e906 . I recorded all of the sounds onto the Zoom H6.The Hobbit was the second scene. I filmed a majority of this scene in my bedroom using the same mics and zoom recorder on all of the same settings and distance from mics. I used Logic Pro to make my analysis on the quality from the different mics and to create the sound sequence that is heard in the video. All of my discoveries on the mics results for recording different sounds and recording in different locations was documented in the Mic Information Chart. I also took notes on each track recorded, the location, the qualities of the sounds recorded, and which sounds were used for the final videos. After editing in Logic, I put everything into Final Cut to turn them into the full videos.